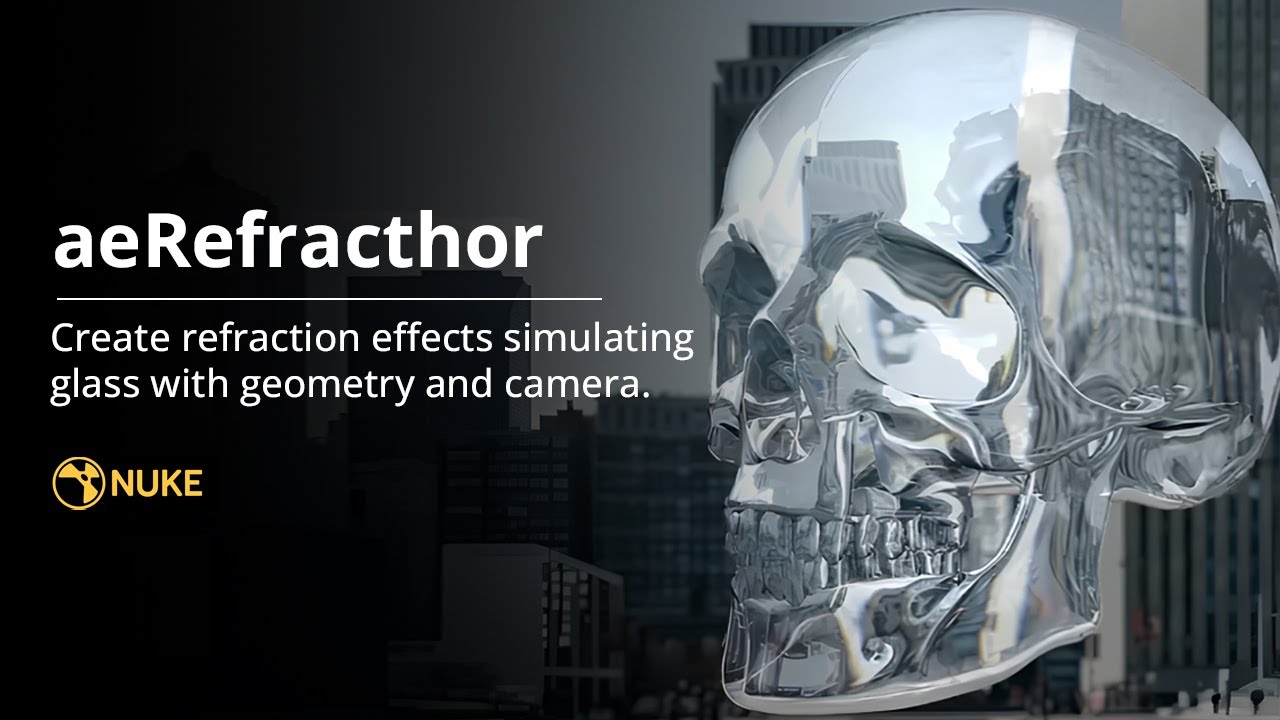
Create controllable refraction effects from geometry and a camera.
- Download the aeTools repository from GitHub as a ZIP, or clone it. One download brings every tool.
- Copy the
Aitor_Echevestefolder into your.nukefolder. - Add
nuke.pluginAddPath("./Aitor_Echeveste")to.nuke/init.pyand restart Nuke.
In the gizmo
- Geometry-driven refraction
- Camera-aware distortion
- Adjustable optical behaviour
- Art-directable glass-like effects
Transparency alone rarely convinces anyone that an object is glass. The background has to bend through it, reflections have to respond to the view, and thickness changes how much light gets through. Rendering all of that again for every adjustment is slow, and most of the decisions are made in comp anyway.
Reflection is not refraction
Reflection is what bounces off the glass towards you: the environment, from the viewing side. Refraction is what you see through it: the background, bent as light crosses each surface. In physics the bending follows Snell's law. aeRefracTHOR gives you controls for both, but its refraction is an art-directed compositing approximation driven by the geometry's normals, not a full optical simulation.
Front, back and edges
A real glass object has two surfaces, and each one bends the image differently. The tool lets you mix the contribution of the front and back of the geometry, set how strong the distortion is, soften the edges, and rebuild normals when the mesh's own normals cause artefacts.
For reflections there are two methods: rendering against the geometry, or distorting an environment map, which can avoid black areas with complex shapes. An HDR environment helps, but it isn't required.
Colour, thickness and the split at the edges
Thick glass looks more coloured because light travels further through it. Thickness and tint controls mimic that cue, and chromatic aberration, with its own samples, smoothing and scale, splits colours near edges. Both are artistic controls: there's no claim of spectral or physically calibrated absorption.
Good for
- Late-stage glass, windows and clear props
- Stylised optical distortion driven by real geometry
Not for
- Caustics, multiple internal reflections or physically exact light transport
- There's no geometry or camera for the object
Questions people ask
- Do I need geometry and a camera?
- Yes, the workflow is driven by them. An environment map is optional.
- Why do I get black areas or edge artefacts?
- Check the normals, try the environment-map reflection method, and soften the edges. Complex geometry is the usual cause.